AREZ Site Creation Help Guide
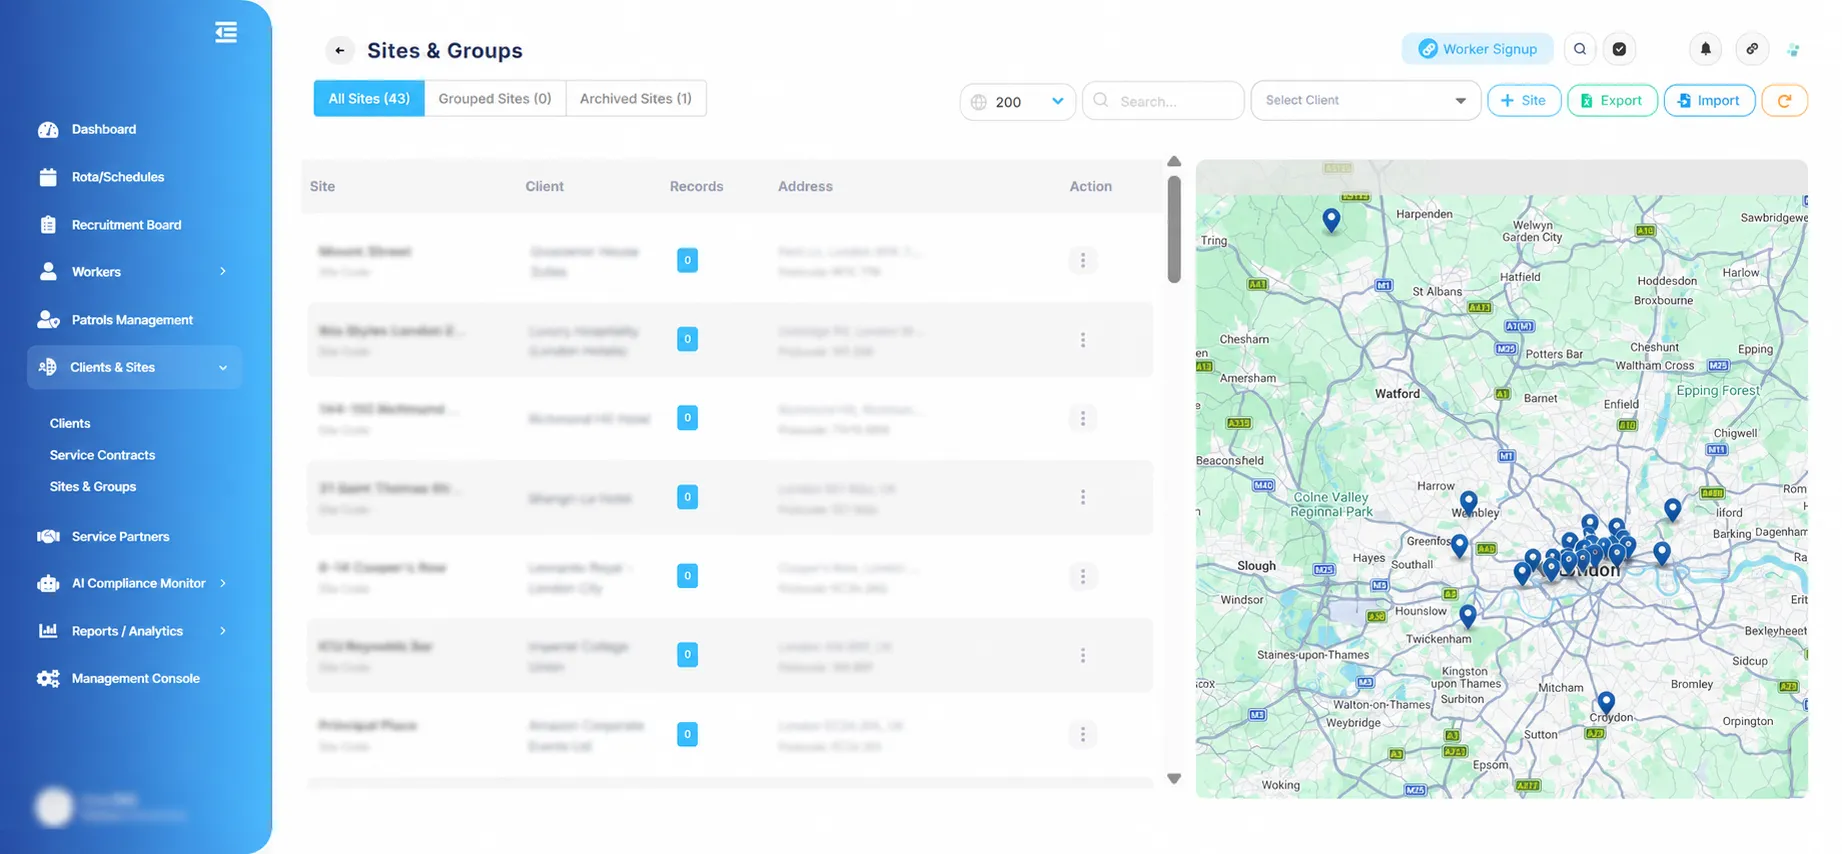
Step 1 – Navigate to Sites & Groups
From the left-hand menu, navigate to Clients & Sites.
Click on Sites & Groups from the submenu.
The Sites & Groups page will open, displaying all existing sites.
To create a new site, click the + Site button located at the top-right corner of the screen.
Note: Ensure the correct client is selected before creating a site.
Step 2 – Enter Site Details
After clicking the + Site button, the Add Site window will appear.
Fill in the required site information, including:
Site Name – Enter the name of the site.
Client – Select the relevant client from the dropdown list.
Area Manager Name – Enter the responsible manager’s name (if applicable).
Store Code / Site Number – Add the store code or site reference number.
Post Code – Enter the site postcode and click the search icon to locate the address.
Phone – Enter the site contact number.
Site Address – Enter the full site address.
Email – Enter the site email address.
City – Enter the city name.
Color – Select a colour identifier for the site if required.
Check Calls – Enable or disable check calls depending on site requirements.
Additional Information Section
Expand the Additional Information section to configure further site details, including:
Site Region – Select the relevant site region.
Area Manager – Assign the area manager for the site.
Managing Director – Enter the managing director’s name if required.
Latitude & Longitude – Verify or update the site coordinates.
Refresh – Use the refresh option to update the location coordinates if needed.
Comments Section
Use the Comment field to add any internal notes or additional information related to the site setup.
Important: Fields marked with an asterisk (*) are mandatory and must be completed before saving the site.
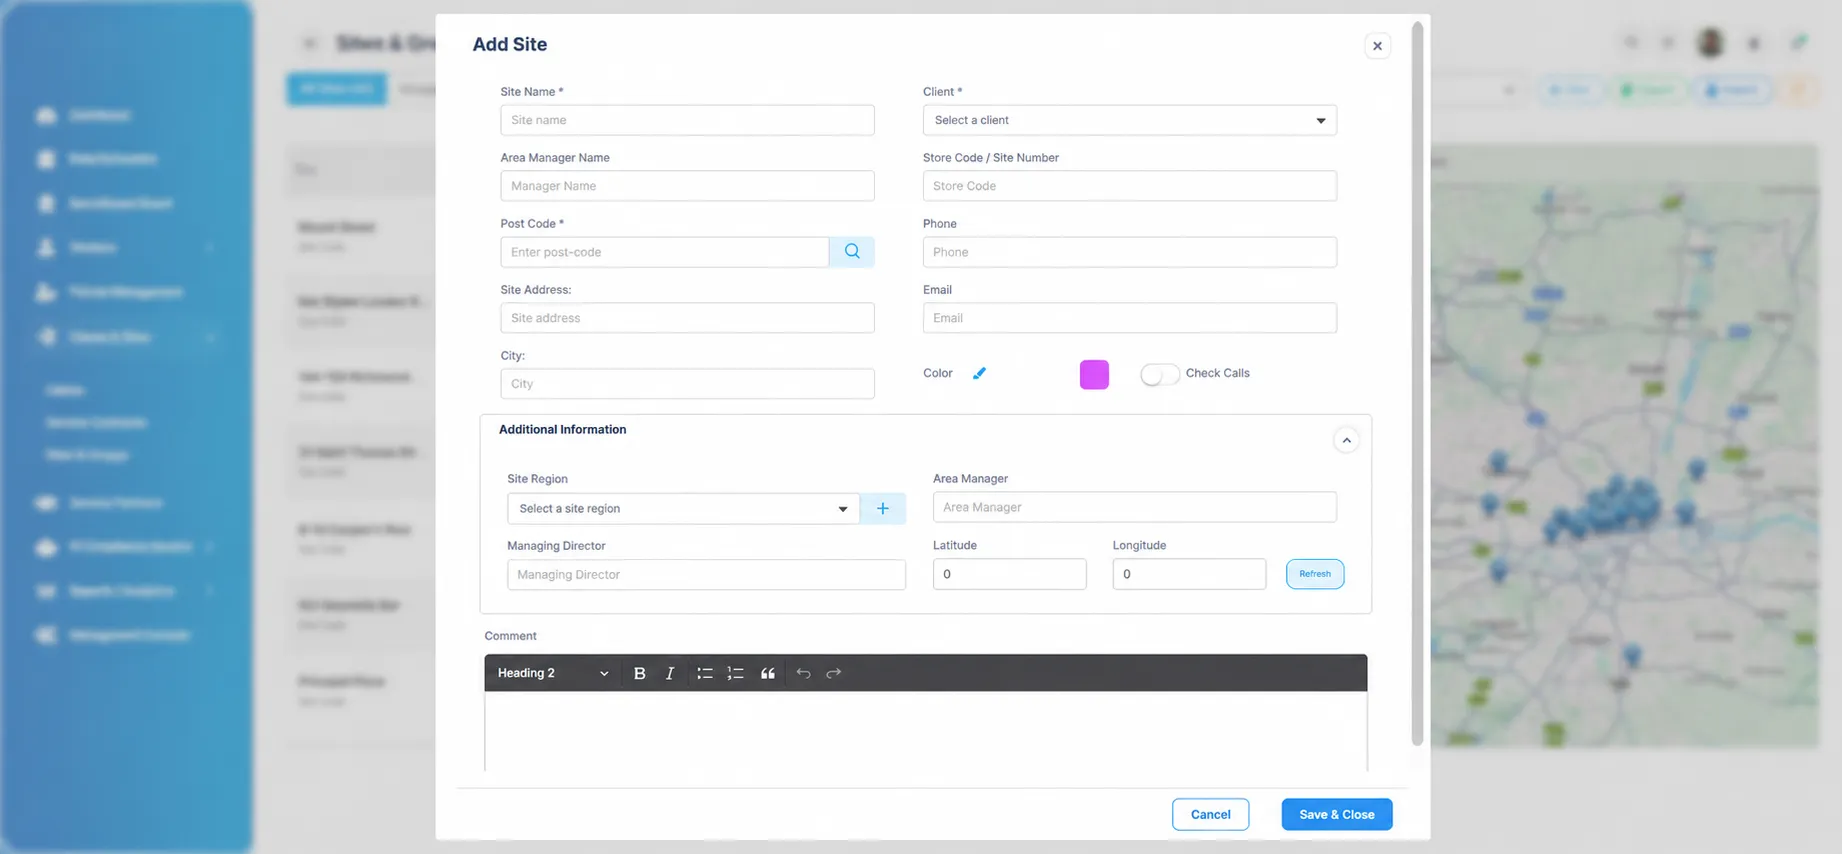
Once all details have been entered, click Save & Close to create the site successfully.