What you’ll achieve
This guide is for System Administrators using Arez.io. By following these steps, you will move from a blank account to a fully operational FieldIQ field service platform ready to dispatch jobs within 60 minutes.
Step-by-step setup
Authentication & Initial Branding
Make the platform your own by configuring your company’s visual identity. Log in to the Arez.io portal using your administrator credentials, then open the Management Console. From the left-hand sidebar, select Management Console, locate Branding, and choose Manage Branding to access the branding settings.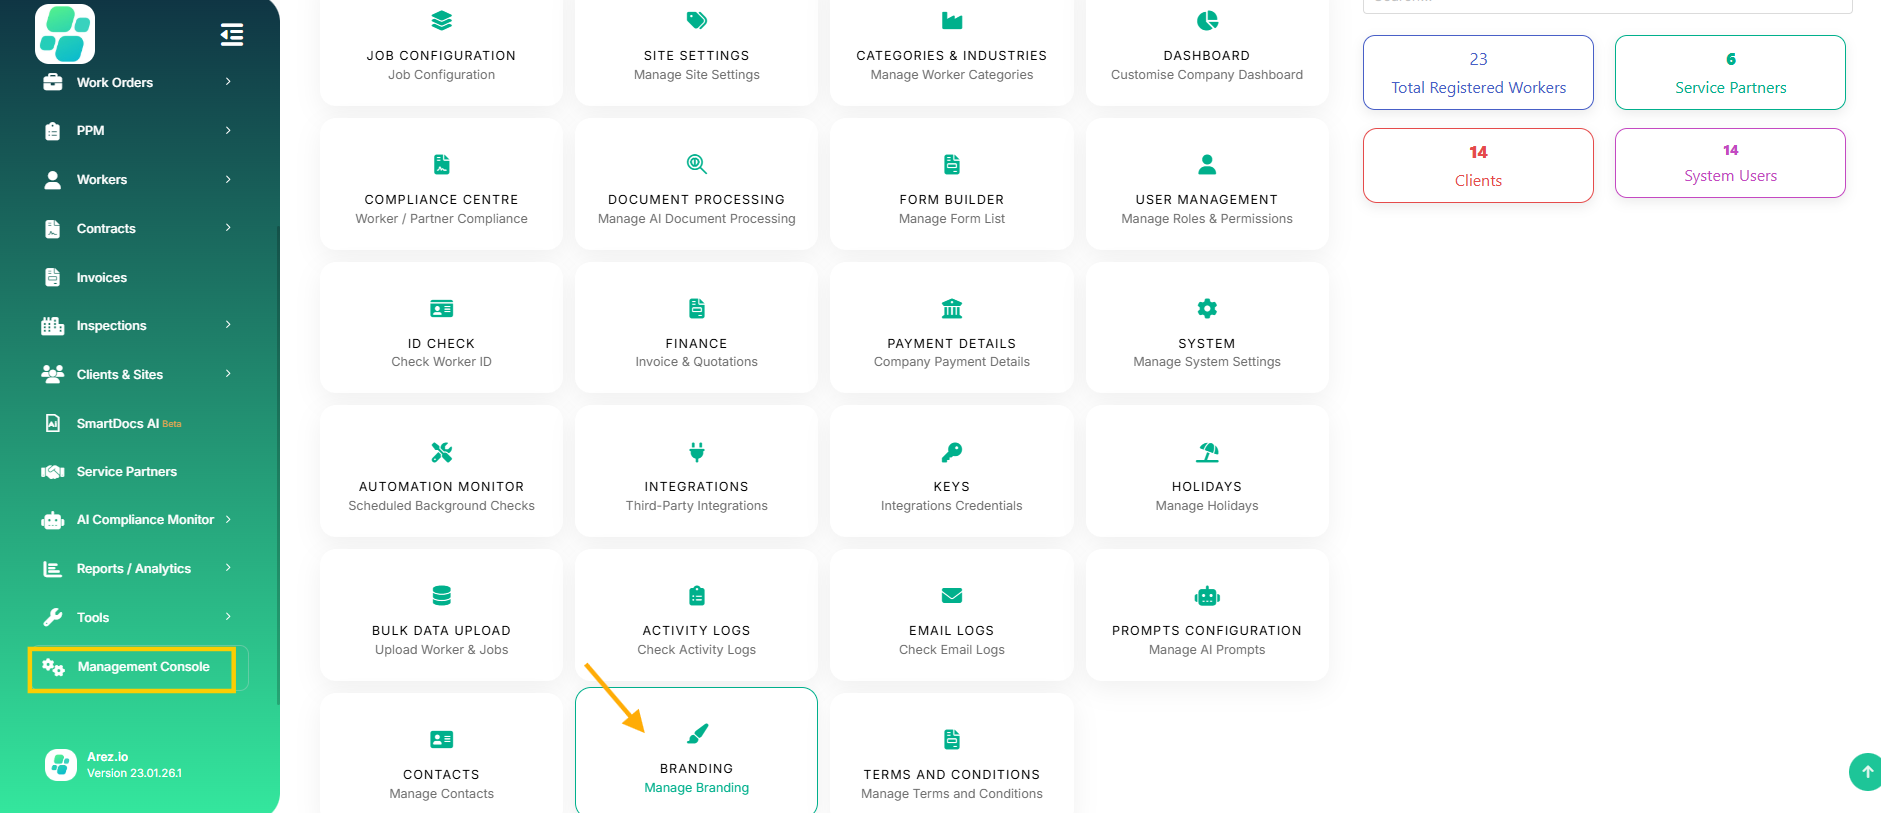
Upload your identity
Your company logo is displayed in the top-right of the portal, while the favicon appears in browser tabs and bookmarks. The theme colour is applied to buttons and links across the platform. You can also configure login branding by uploading a login image and adding a custom slogan for your team.
Email configuration
Scroll to Branding Email and set your Company Name, Support Email, and Help Desk Number for all outgoing notifications.
Save changes
Click Update Changes (green button, top-right) to apply your branding.

User Management & Role Assignment.
Access the User Directory
Open the Management Console from the sidebar and select User Management (person icon). The Users tab displays all current users, along with their departments and last login details.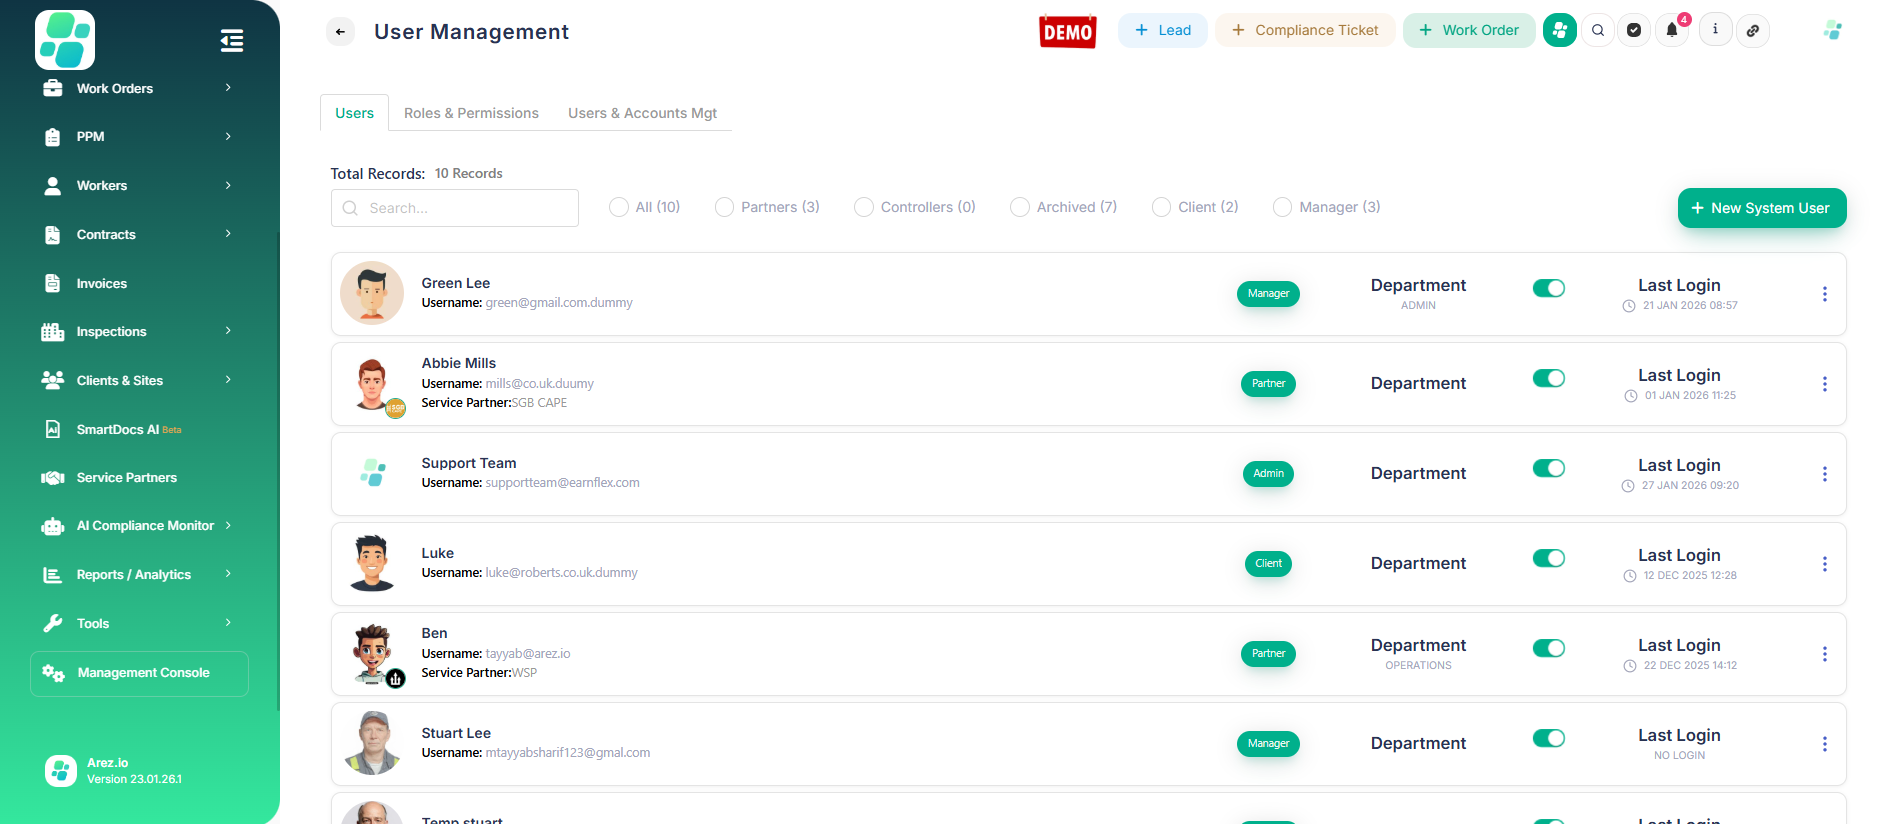
Create a new system user
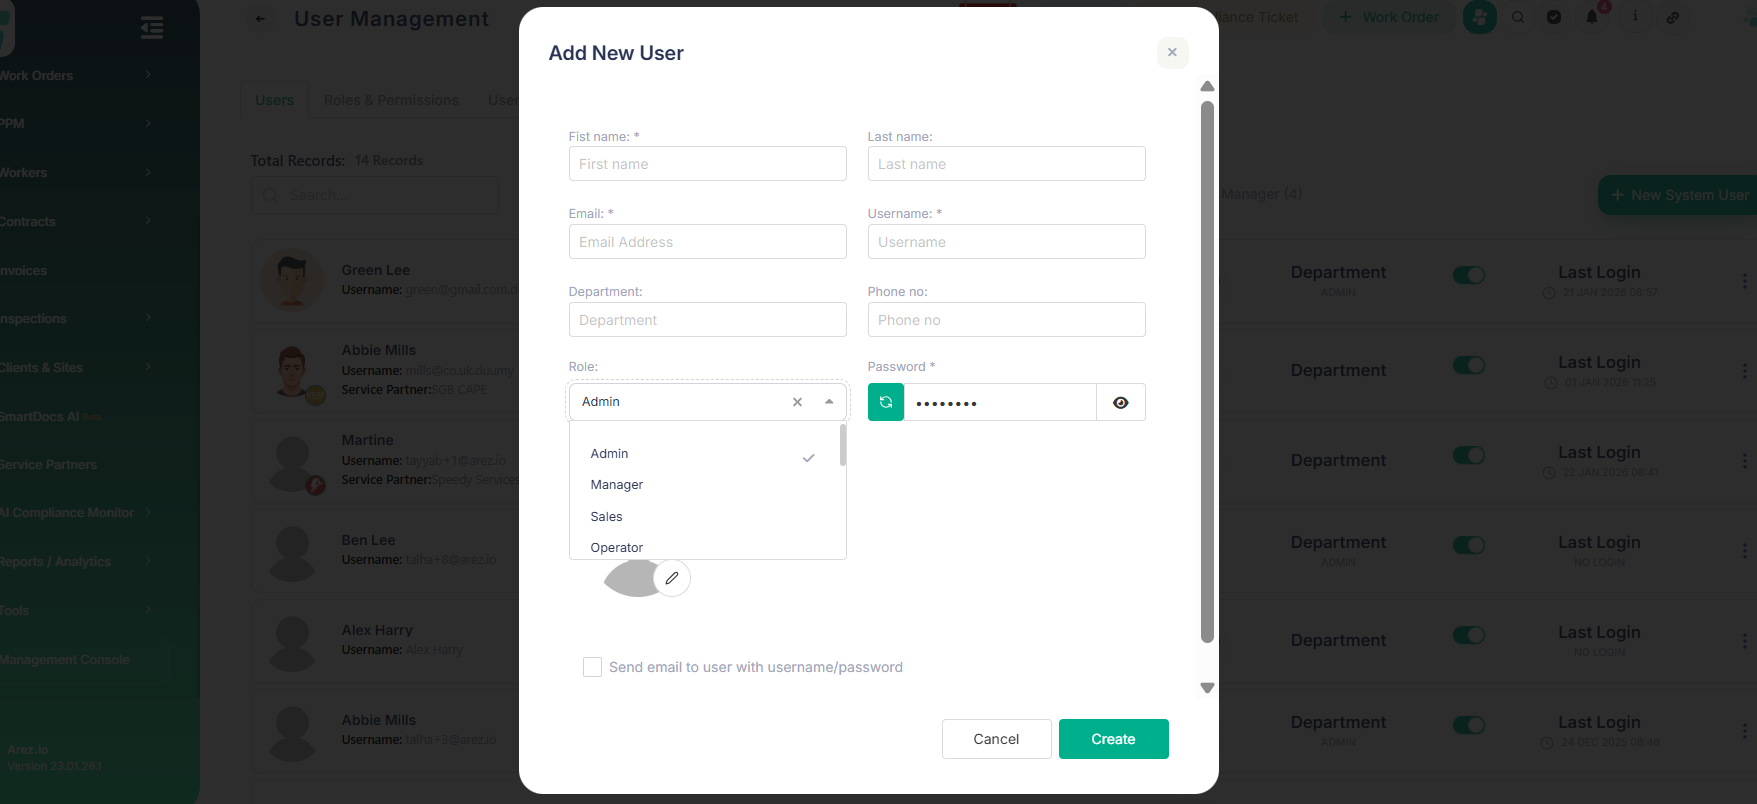
Click + New System User in the top-right. In the Add New User window, complete the required fields, including personal details such as first name, last name, and email address; credentials, including a unique username and secure password; and contact details.
Assign roles and permissions
Use the Role dropdown to select the appropriate access level. Admin users have full access to the Management Console and system settings, Managers can oversee jobs and workers with limited console access, and Operators/Sales have access restricted to assigned operational tasks. Enable Send email to user with username and password to automatically share login details, then click Create to finish.
Clients & Sites Management
Set up clients
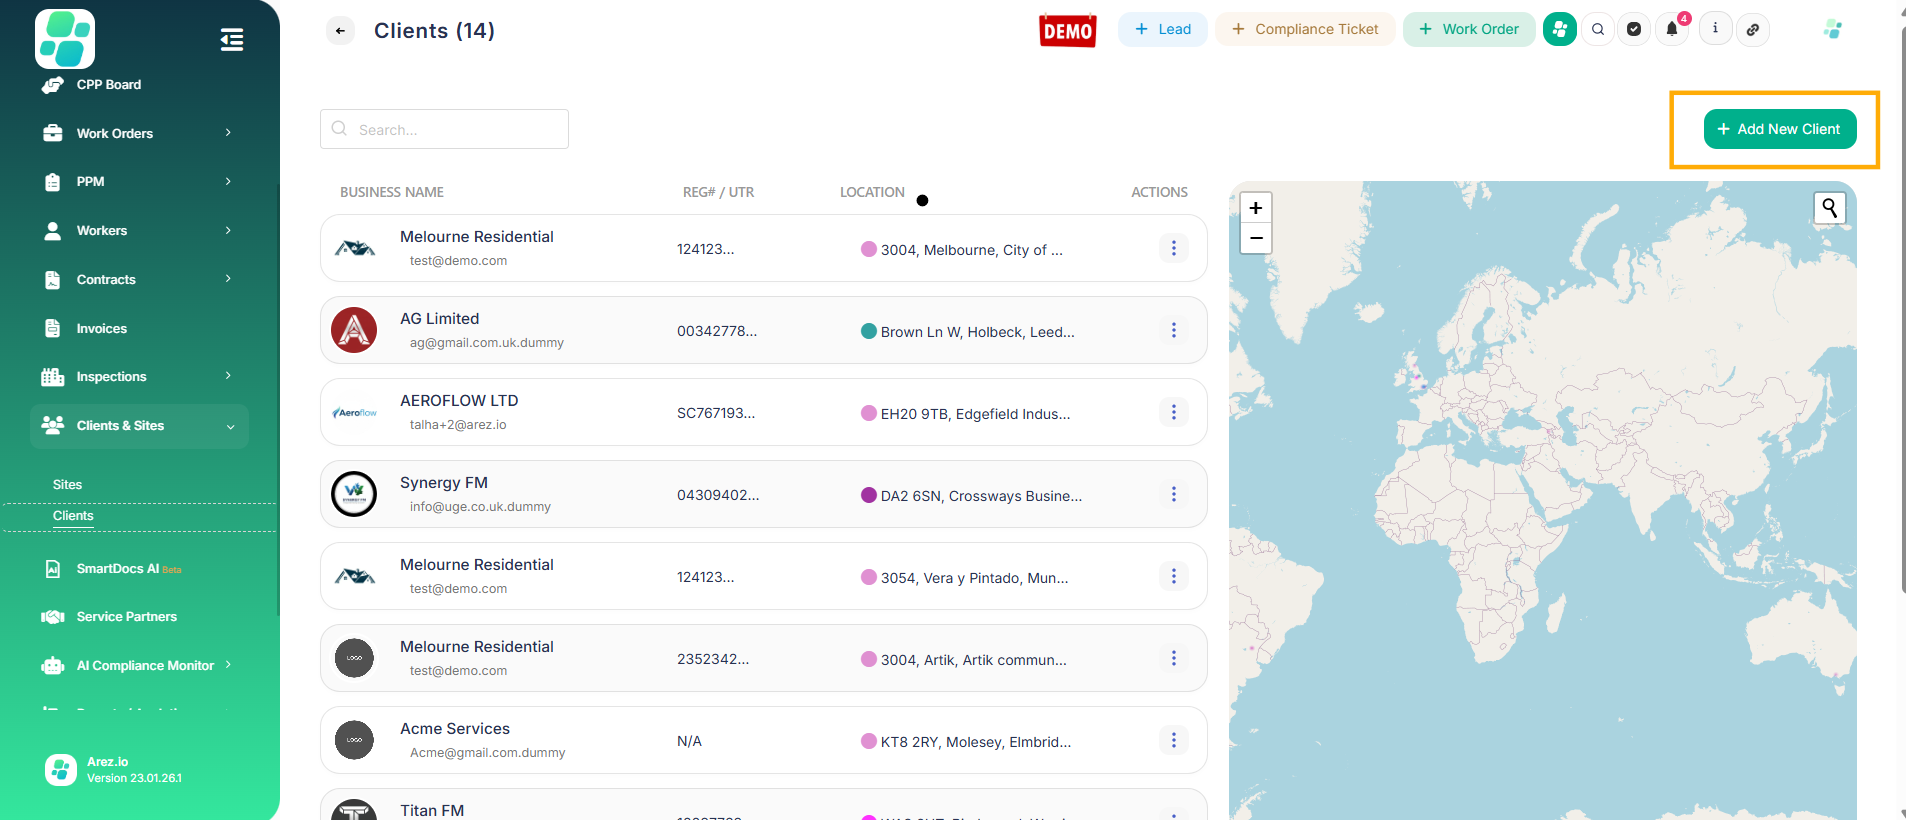
Under the Clients & Sites section in the sidebar, click Clients, then select + Add New Client. Upload a client logo and enter the registered company name and trading name. Add the company registration number and primary email address for automated reporting, confirm acceptance of the privacy policy, and then click Save & Next.
Set up sites (work locations)
Under the Clients & Sites section in the sidebar, click Sites, then select + Site. Enter the site name and postcode, then use the search icon to populate the address and city. Add the site manager’s details, including name, email, and phone number, and enter a store code or site number if required for internal reference. Finally, click Save & Close to add the site to the global map.
Advanced data tools
You can bulk import sites by using the Import button on the Sites page to upload multiple locations. You can also export a full list of sites for auditing or record-keeping purposes.

Worker Management
Access the worker directory
Select Workers from the main sidebar. The All tab displays all registered workers, including their competencies and associated service partners.
Understand worker indicators
The competencies section displays a percentage ring showing the completion of the worker’s profile and documents. An activation code is provided as a unique identifier used to link the worker’s mobile device. Industry icons act as visual indicators of the worker’s trade, such as electrical, HVAC, or plumbing.
Ready to work
A green tick indicates the worker is active and compliant, while an orange warning shows that information or documents are missing.
Add or import workers
Use + Add Worker to create a single worker profile manually, or select Bulk Upload to import multiple workers.
Filter by trade
Use + Add Worker to create a single worker profile manually, or select Bulk Upload to import multiple workers.

Final step: Create and dispatch your first job
To create a work order, click + Work Order at the top of the screen. Enter the work order title and description, and select the response type as either Reactive or Planned. Choose the relevant client and site for billing and dispatch, then assign a worker with a green Ready to Work status. Finally, save the job to instantly push it to the engineer’s Arez Mobile App.
Common mistakes to avoid
Common issues to watch out for include changes not being saved if Update Changes is not clicked after edits, incorrect role assignments that can block access or expose settings, and workers not marked as Ready to Work due to missing information or documents. Jobs may also fail to dispatch if sites are mislinked, so always ensure the correct client and site are selected. In addition, workers must activate the mobile app using their activation code before jobs can be sent to them.