Steps to Export Jobs
Navigate to the required Jobs section
Open the relevant status tab
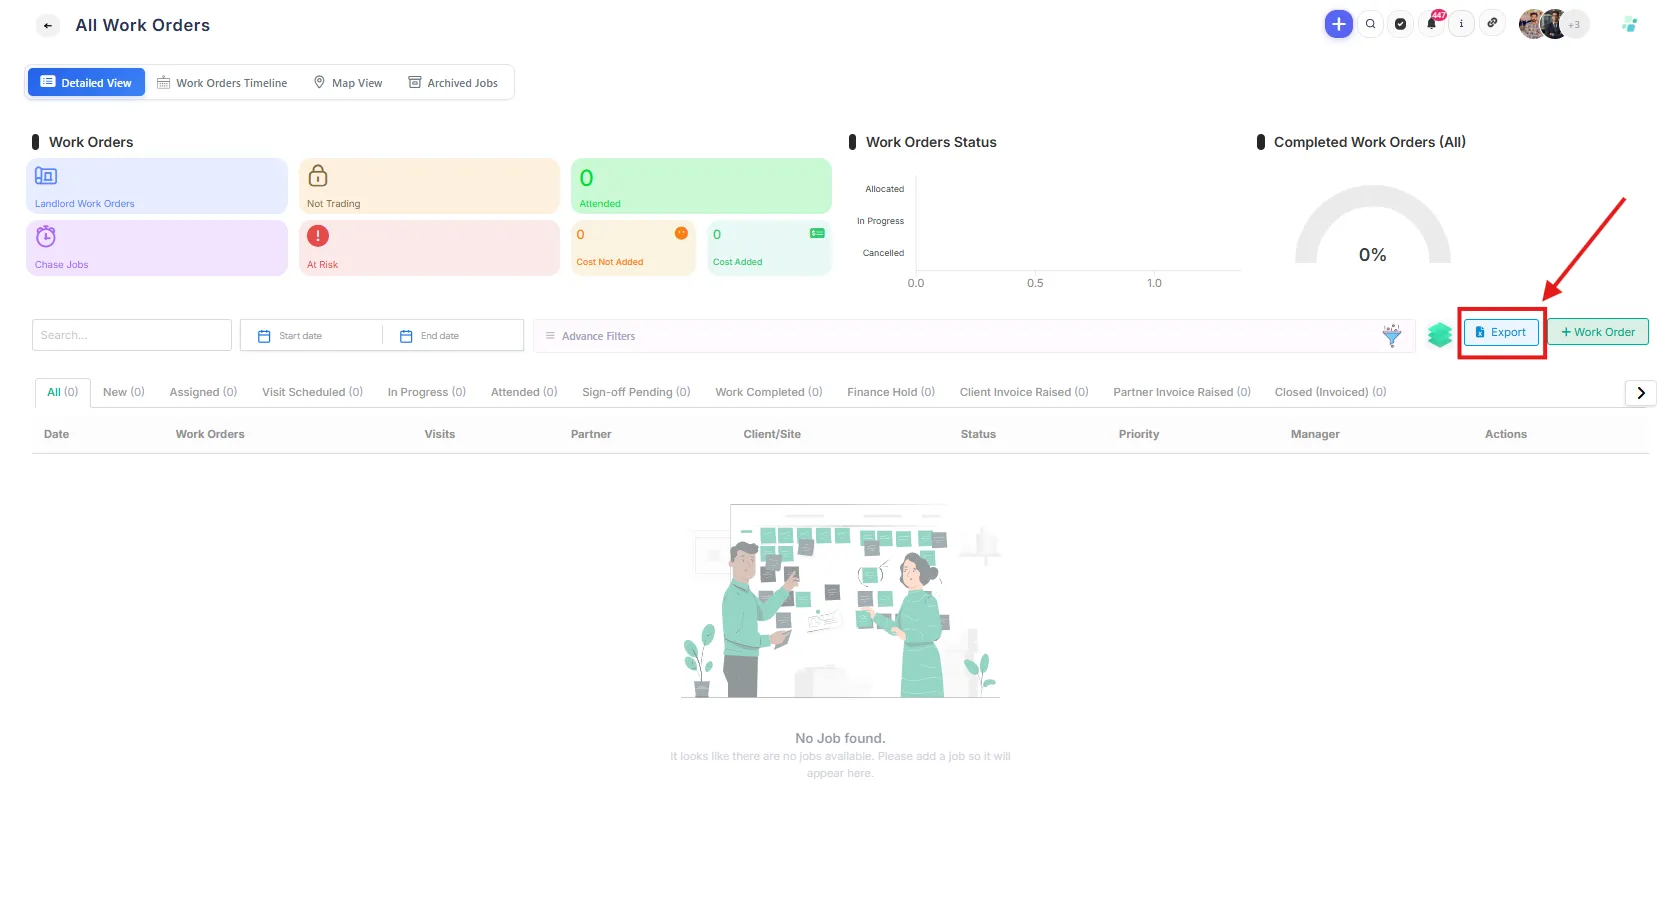
Click the Export button
Select the required date range in the pop-up window
Confirm the export
The system will then generate and download the export file.
Important Notes About Date Filtering
The export date range filter is based on the job creation date, not the scheduled visit date.
This means:
Jobs are included based on when they were created in the system
Additional filtering or sorting may be required after export depending on the information needed
Information Included in the Export File
The exported file includes the following columns:
Column | Description |
Job No | Unique job reference number |
Date Logged | Date the job was created |
Description | Job description/details |
Client | Client associated with the job |
Fixed Price | Indicates whether the job is fixed price |
Pay Rate | Worker/service partner pay rate |
Charge Rate | Client charge rate |
Cost Approved | Indicates whether costs have been approved |
Site Name | Name of the site |
Site Address | Site address |
Site Number | Site reference number |
Site Area | Site area/location grouping |
Site Region | Site region |
Manager | Assigned manager |
Sub Contractor | Assigned subcontractor/service partner |
Job Status | Current job status |
Job Category | Category of the job |
Service Type | Type of service being delivered |
Service Code | Service reference code |
Priority | Job priority level |
Visits | Number of visits associated with the job |
Using the Exported File
After downloading the file, you can:
Filter jobs by status
Sort by dates
Review subcontractor allocation
Analyse operational performance
Prepare reports for clients or internal teams
Best Practices
Export jobs by individual status for focused reporting
Use Excel filters after export for deeper analysis
Review Active and Inactive jobs separately where required
Use the All tab for a complete overview of Active jobs